You’ve been blogging. You’ve been showing up. Maybe your traffic is even starting to grow.
But here’s the harsh reality: If your blog isn’t turning that traffic into leads or sales, you’re leaving money on the table.
The good news? You don’t need to start over or build an entirely new funnel to fix it. You just need to treat your blog like the first step in your sales funnel — and start optimizing what you already have.
In this post, I’ll walk you through exactly how to turn your blog into a conversion-powered funnel hub — using OptimizePress and a few smart AI shortcuts. It’s easier than you think.
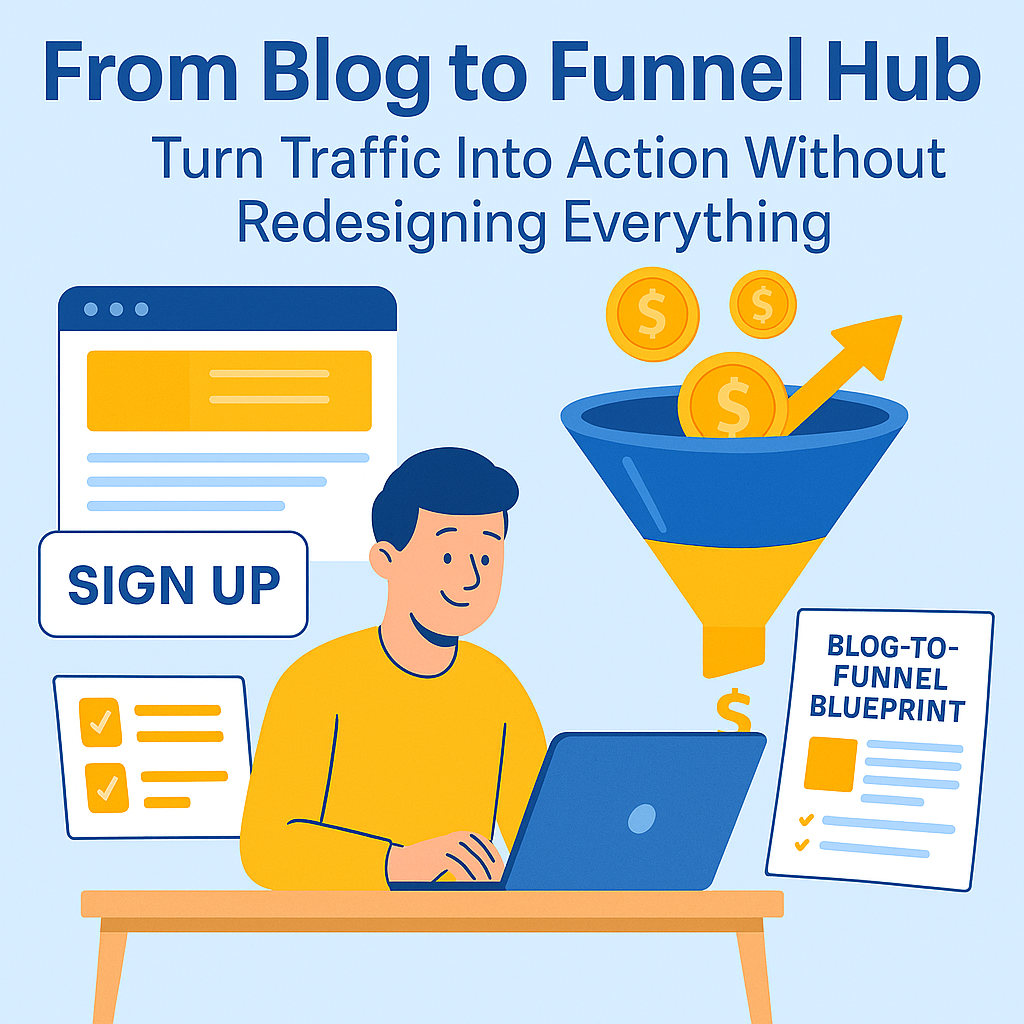
Want the full step-by-step plan?
Grab the free Blog-to-Funnel Blueprint — your visual guide to turning your blog into a high-converting funnel machine.
First, Shift Your Thinking: From “Blogger” to “Funnel Starter”
Most beginner marketers treat their blog like a content diary.
Successful marketers treat it like a strategic entry point into their funnel.
This mindset shift changes everything. Now each blog post becomes:
The blog isn’t the end. It’s just the beginning.
Step 1: Add Opt-In Offers to Your Existing Posts
You already have traffic. Now let’s capture it.
Start with your top 3 most visited blog posts (use Google Analytics or Jetpack).
To each one, add a lead magnet — something small and useful that your reader can download instantly.
Ideas:
Use OptimizePress’s opt-in blocks to insert these offers above, within, and at the end of the post.
Don’t have a lead magnet yet? Use this ChatGPT prompt:
“Based on this blog post, create a simple checklist or swipe file that solves the main problem faster.”
Need help choosing where to start?
The Blog-to-Funnel Blueprint shows you where to place CTAs and which lead magnets convert best.
Step 2: Reorganize Your Categories Into Funnel Themes
If your blog categories are things like “tips” or “tools,” you’re missing a big opportunity.
Instead, organize your blog around the funnel journey:
This creates natural flows through your content — guiding readers from curiosity to conversion.
Pro Tip: Rename or retag posts accordingly using OptimizePress’s blog structure tools.
Step 3: Add Smart CTAs Inside the Content
Forget annoying popups and desperate buttons.
Instead, use AI to write natural-sounding CTAs right inside your blog content — ones that feel helpful, not pushy.
Examples:
Prompt to use:
“Write a soft, helpful call to action for this paragraph that promotes a free checklist.”
CTA Example:
“Struggling to link your content to your funnel? The Blog-to-Funnel Blueprint gives you a simple, proven flow. [Grab it here]”
Step 4: Add a “Start Here” Funnel Navigation
Every great blog-turned-funnel has a clear path forward.
Add a “Start Here” page in your navigation that:
OptimizePress makes it easy to build this with Smart Theme layouts.
Prompt to use: “Write a friendly, 3-section Start Here page that introduces my system and links to my lead magnet.”
Step 5: Set Up a Simple Welcome Funnel
When someone downloads your lead magnet, don’t leave them hanging.
Create a 3-part welcome email sequence using AI:
Prompt: “Write a 3-email funnel sequence for someone who downloaded my Blog-to-Funnel Blueprint.”
Now your blog isn’t just a place to read — it’s a full funnel in disguise.